Introduction
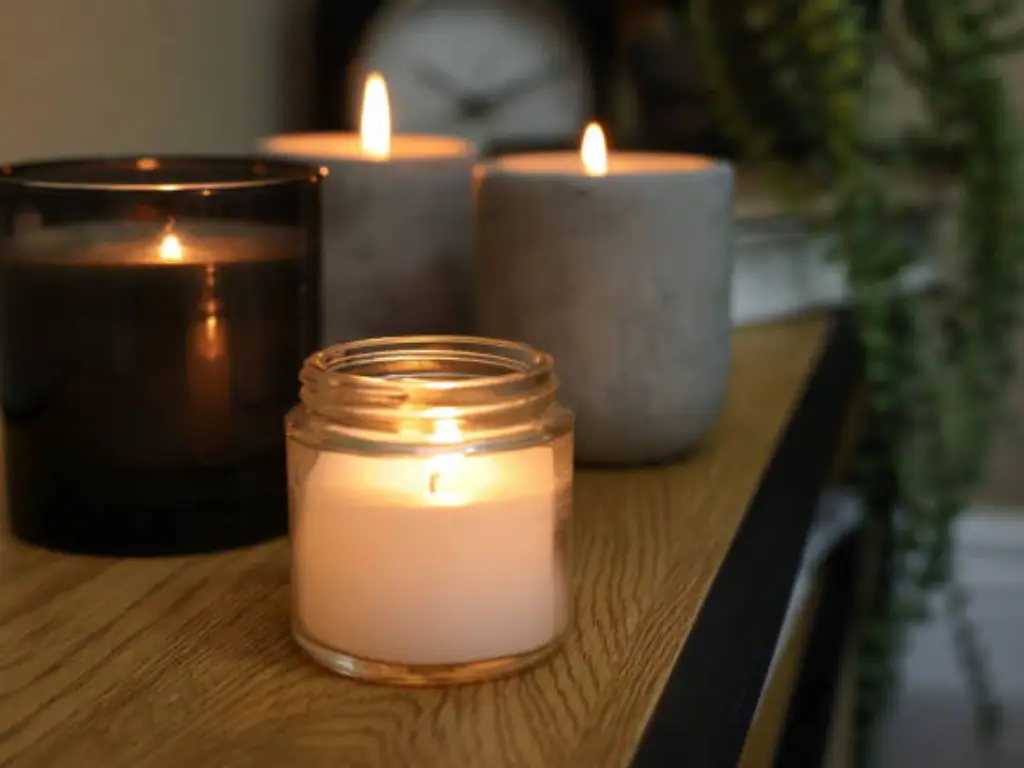
Have you ever been in a dilemma of what to do with those beautiful candle jars with the wax gone? It is not necessary to discard them immediately. It is quite easy to recycle your used candle jars with a little imagination and some common items in your pantry. In this article, we will explore multiple methods to clean a candle jar using items that you probably have in your own house. We will be covering all of this, from how to remove wax, to cleaning the jar after use, to sanitizing it for further use, and even repurposing it for new candles. Therefore, we will get down to the point and explain how to reuse candle jars.
Safety Precautions
Before we dive into different ways of how to clean a candle jar, first of all, the safety precautions should be dealt with. When working with candle wax, especially when it is heated, there are some hazardous factors that could be involved. Always work in a well-ventilated area and try not to breathe in any fumes from the wax that is melting. In case you are using boiling water or a hair dryer to remove the wax, you should be cautious. Surfaces can be very hot. Avoid burns by wearing oven mitts or gloves as protection. On the other hand, take care of disposing of the remaining wax and wicks. This will ensure that you are not a cause of any fire incidents.
One of the safety factors that should be taken into account is the kind of wax that you are working with. While some candles may be made of additives or chemicals that are harmful when not handled properly, others can be made of natural materials. If you don’t know what your candle wax is processed from, it’s better to be careful. Here, you should not choose ways that involve heating the wax. Besides, consider the sharp edges and cracks in the glass when emptying out a candle jar. They can be dangerous.
Method 1: Freezing
One of the easiest and most efficient ways to clean the candle wax out of the jar is by freezing it. This method suits candles with a little wax left at the bottom of the jar most especially.
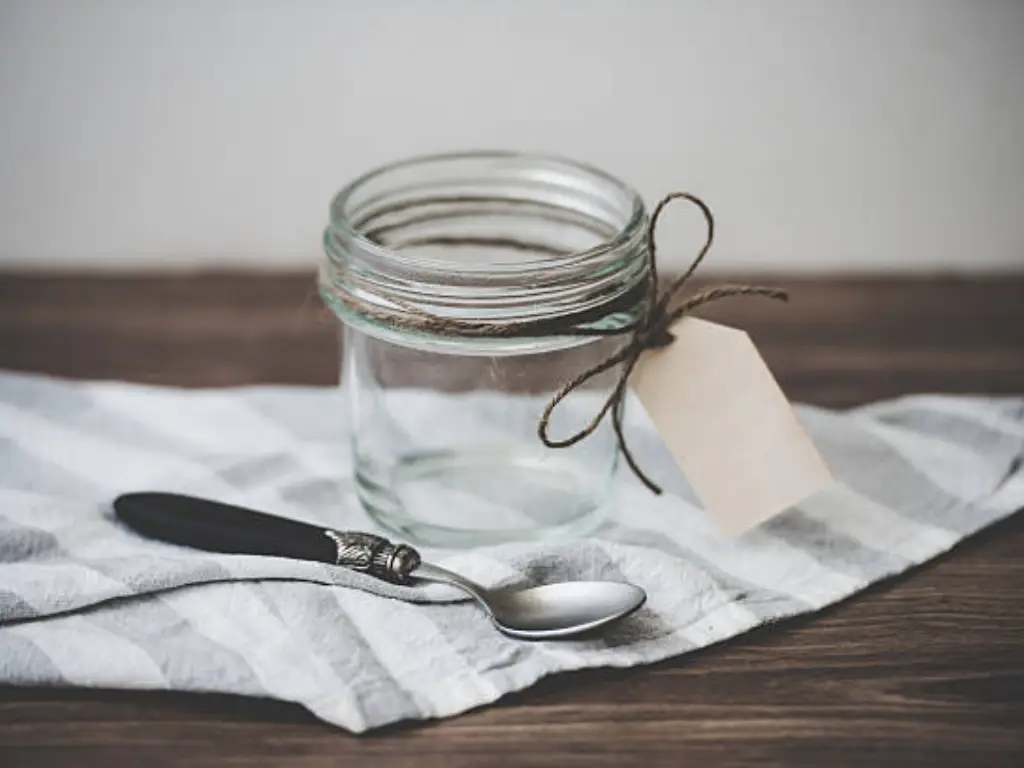
First off, put the candle jar in the freezer for a few hours or a night. Once the wax solidifies and shrinks in the cold environment, it will come off the glass, which will facilitate the process of removing it. Having the wax solidified, use a butter knife or spoon to loosen up the frozen lump of old candle wax. If the wax is not coming out easily, You can try tapping the jar on a hard surface to help it loosen. Once you have removed the main piece of old candle wax, you may see some residue still stuck on the inside of the jar. Now it’s time to remove the wax from the surface. You can do it using a paper towel or soft cloth and wipe away the wax particles, breaking the wax into smaller pieces if needed.
The freezing method is surely the best alternative for those who want to know how to remove candle wax from the jars without heat or chemicals. This process is suggested by the National Candle Association to give the best effect.
Method 2: Scraping

If you’re handling a small jar with a small amount of hard, stubborn wax, the scraping method could be your best option. This technique involves getting a butter knife, spoon or any other dull object and use it to scrape off the wax from the jar.
For the start, make sure the wax is completely chilled and hardened. Apply your chosen scraping tool to the wax edge and start chipping away at it, while moving from the edges towards the center. Take out the wax as you go and throw it in the garbage can or any disposable container. After that, you can use the paper towel or soft cloth to wipe away the last remaining residue. If you still find some wax pieces stuck to the jar, then you may try using little rubbing alcohol or nail polish remover for dissolving them.
The scraping technique is perfect for anyone who doesn’t have a heat source or special equipment. It’s also great for those who want to know how to remove candle wax from a container without using heat.
Method 3: Boiling Water
Apart from the other techniques of candle jars cleaning, the use of boiling water is also very effective. This way is the most powerful one for removing the big pieces of wax and is very good at the jars with wide mouths.
Firstly, do the candle jar slowly with hot water to leave about an inch of top empty. The hot water will melt the wax while it floats to the surface. The wax should be given a chance to cool and harden, and then it is removed. When the wax has become solid, you can then use a knife or spoon to carefully remove it from the water surface. Drain the water and the wax bits and then wipe the inside of the jar with a paper towel or soft cloth to make sure it’s clean. Let the jar sit for a few more minutes, and if there is a little left in the end, repeat the process until the jar is completely transparent.
This is a handy tool for those who are in a hurry and want to clean the jar in a short time.
Method 4: Hair Dryer
You may also achieve a similar end by applying a hair dryer for a quick and effortless way to get rid of the candle jar. This method works fine when the candles are left to melt completely and only some wax is left.
First, check that the hair dryer you are using is on the medium or high heat. Set the hair dryer about 3-4 inches away from the candle jar and point the hot air to the wax. When the wax is dissolving, take a soft cloth or a paper towel to wipe it off. Continue this step until you are done with removing all the wax from the hairdryer. Nevertheless, if you happen to discover that the process of using a hair dryer is too slow, you can try using a heat gun that gives more focused heat. Hang the cloth in the sun to dry and give it a final clean up by wiping all the wax.
It is the way to go for those who are not the fans of getting their hands dirty and would like to clean a candle jar with minimum effort.
Method 5: Vinegar and Baking Soda

Moreover, consider vinegar and baking soda to be a natural and safe alternative for cleaning candle jars. This technique is the best one for cleaning any wax or stains that won’t come off easily.
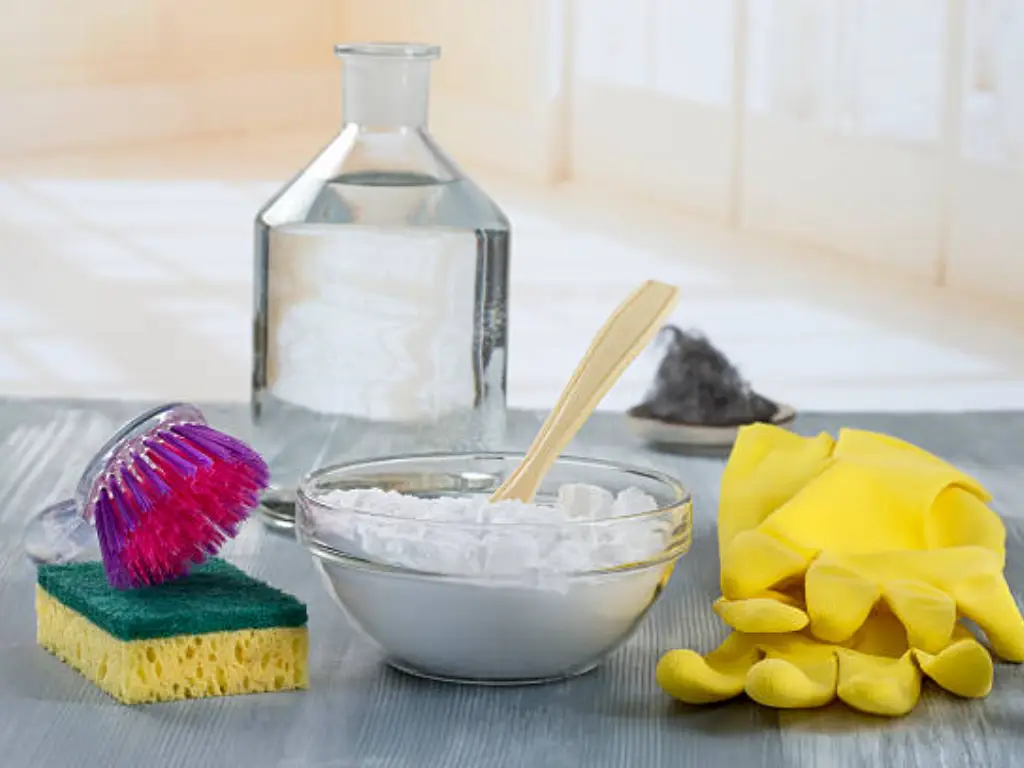
First of all, mix the white vinegar and water with the same quantity in the jar and leave an inch of space at the top for the solution to work. Top with 1 tablespoon baking soda and keep it sitting for several hours or overnight. The baking soda will help dissolve the waxy layer and break apart any dirt, and the vinegar will do the job of the natural cleaner. Afterward, switch to a bottle brush or a soft cloth to clean the inside of the jar, and be more attentive to the difficult-to-remove areas. Clean the jar with lukewarm water and dry it off using a clean towel.
The procedure is perfect for those who wish to achieve the same result in an environmentally friendly way and without using any toxic ingredients.
Method 6: Olive Oil
Instead, we can use olive oil, a natural alternative technique for candle jars cleaning. Here we use the same method as mentioned above to remove any remaining wax and to make the jar shine.
At the beginning, check the jar of your candle for big wax pieces and the dirt. A few drops of olive oil in the jar and a soft cloth or paper towel to clean the glass, especially the area with wax or stains. Allow the oil to sit for a few minutes, and use a clean cloth to remove the excess oil and buff it to a shine. For this purpose, use a paper towel to wipe off any remaining oil.
The olive oil method is perfectly suited to those who want to make the cleanup of candle jars easy and natural.
Method 7: Oven Method
If the wax is hard to remove using the freezing or boiling approach, you can opt for the oven method. This is done by using low heat, which gives the wax a chance to liquefy and then be easily poured out of the jar and the jar cleaned.
Firstly, preheat the oven to the smallest temperature option available which is usually around 150-175°F (65-80°C). Place your candlestick in a baking tray, covered with aluminum foil or parchment paper, and insert it in the oven. Turn on the oven for 15 minutes or until the jar is warm enough to melt all the wax. You should wear oven mitts to avoid being burned when you take out the baking sheet from the oven. Then, pour the melted wax into a disposable container. Be careful, the wax may be hot, and the jar, too. Once the jar is at room temperature, use a soft cloth or a paper towel to get rid of the remaining wax.
The oven method is an excellent alternative for those who had troubles with other cleaning methods that they did not succeed in removing the wax.
The following comparison table highlights the situations each method is best suited for, along with their advantages and disadvantages. This table will help you quickly determine which method might work best for your specific candle jar cleaning needs.
| Method | Best Suited For | Advantages | Disadvantages |
| Freezing | Candles with only a small portion of the wax remaining at the bottom of the jar | – Easy and efficient- No heating or chemicals are necessary | -Can be a bit tricky for larger amounts of wax- A frozen wax waiting period is required |
| Scraping | Small jars containing little of the hard, persistent wax | – Removes wax without heat- No machine or special equipment required | – Can be time-consuming- May not remove all wax residue |
| Boiling Water | Candles with more wax and wide bottom jars | – Quick and easy- Effective for removal of bigger bits of wax | – Dealing with hot water- May not leave all of the wax as well |
| Hair Dryer | Wax candles with a small amount of wax that does not get hot from an oven or water boiling | – Quick and easy- No mess involved | – Could be slower than others- Need a blow dryer or a heat gun |
| Vinegar and Baking Soda | Removing leftover wax residue and stubborn stains | – Natural and eco-friendly- Effective at removing grease and stains | – Requires waiting time for solution to work- Could need additional scrubbing |
| Olive Oil | Removing remaining wax residue and achieving a polished look | – Simple and natural- Leaves jar shiny and clean | – May require additional wiping to remove excess oil- Not as effective for large amounts of wax |
| Oven Method | The wax that remains no matter how high the temperature is set is very stubborn | – Melts wax effectively- Easier to pour out the melted wax | – The oven is the equipment that will be used in this recipe- Possibility of burns if not handled with caution |
Removing Labels and Residue
When you have burnt the wax out of the candle jar, you may be left with some labels or residue on the jar. To get rid of these residues, soak the jar in warm, soapy water for several minutes to loosen up the adhesive. Apply the scrub brush or sponge to gently scrub off the labels and residual materials, including any stubborn soot, but avoid scratches on the glass. For the residues that are more difficult to remove, you can also try using a dish towel to scrub the adhesive away.
If the labels are just stubborn, you can try using a mix of baking soda and cooking oil to produce a paste. Stick the paste on the label and leave it for a few minutes and then remove it by scrubbing. Additionally, a store-bought adhesive remover, e.g., Goo Gone, can be used. Just ensure that you keep to the directions provided on the package. After you’ve washed and scrubbed the jar well, rinse it with warm water and dry it with a clean cloth.
Cleaning and Sanitizing
After you have removed the wax, labels and stickers from the candle jar, it is also very important to clean and sterilize the jar before using it for other purposes. This is a necessary step to make sure that the jar is totally free of any bacteria or germs that may have been brought to the jar during the cleaning process.
The initial step of cleaning and sanitizing your jar is to wash it in hot, soapy water using a dish soap or a mild detergent. Using either bottle brush or soft cloth, scrub both the inside and the outside of the jar, focusing on the crevices and the hard-to-reach places. Rinse the jar with hot water to remove any detergent residue. Instead, you can choose between two ways of disinfecting the jar. One of the first things you can do is put it in the dishwasher and run it on high-heat cycle. Considering that, you can fill the jar with a solution of water and white vinegar in equal proportions. Leave it for a while, then wash out. When the jar is clean and sanitized, make sure that it is dried with a clean towel or allowed to air-dry before you use it for your next project. Through the process of thorough cleaning and sanitizing candle jar, you are able to determine whether it is safe for reuse or not.

Conclusion
Removing a used candle from a candle jar could appear to be a hard job at first sight. However, with the right techniques and a bit of patience, you can easily clean these beautiful containers and use them for many other things. There are a few options when it comes to cleaning the candle jar. These are also methods like boiling water, freezing, using the oven, hair dryer, scraping, vinegar, baking soda or olive oil. No matter the shape of the candle jar or the type of the wax residue, there is a solution for all. Not only it is a good thing to clean and reuse your candle jars, it can also help you save money. More importantly, it allows you to be creative and make your house be unique in the decoration. Thus, whenever you are wondering how to clean a recycled candle jar, remember this. As you will see, with a bit of imagination and some work, you can transform these containers into something that is really beautiful and useful.
FAQs
1、Is it possible to use these approaches to clean candle jars with soy wax?
However, these techniques can be effectively used to clean jars with soy wax. On the other hand, be aware that soy wax is usually softer compared to paraffin wax, so you need to put less heat or use less effort to melt it.
- What can I do to get rid of the smell from the jar of an already burned candle?
For the removal of the smell from the used candle jar, soak it in a mixture of equal parts of water and white vinegar for a night. You can experiment with putting in the jar the baking soda and letting it stay there for several hours before washing it out.
3、Is it alright if I use a metal spoon to scoop out the wax?
Instead of a metallic spoon, use a plastic or silicone one, to prevent the scratch-markings on the glass. If you do use a metal spoon, please be careful and gentle so the jar won’t be punctured or damaged.


